The best import export plugin for WordPress & WooCommerce.

How to Import Meta Box Cloneable & Repeater Fields
To import cloneable and repeater data into Meta Box fields, go to All Import › New Import and create an import for the post type that contains your Meta Box cloneable fields. Use the Meta Box Add-On section to map the incoming data elements to their corresponding Meta Box fields.
For more information on the add-on, see Import to Meta Box From Any CSV, Excel, or XML Feed.
How Cloneable Fields Work in Meta Box
Meta Box doesn't have a repeater or cloneable field type. Instead, it has a "clone" feature that can be applied to all field types. This means that every field or group can be cloneable or repeated. These are called cloneable fields or cloneable groups. You can learn more about cloneable fields here: Cloning fields.
The main thing to consider when importing these fields is that repeatable data should be contained within the same column/record in your file.
This is where the Cloneable option appears in the Meta Box UI. You just need to enable it:
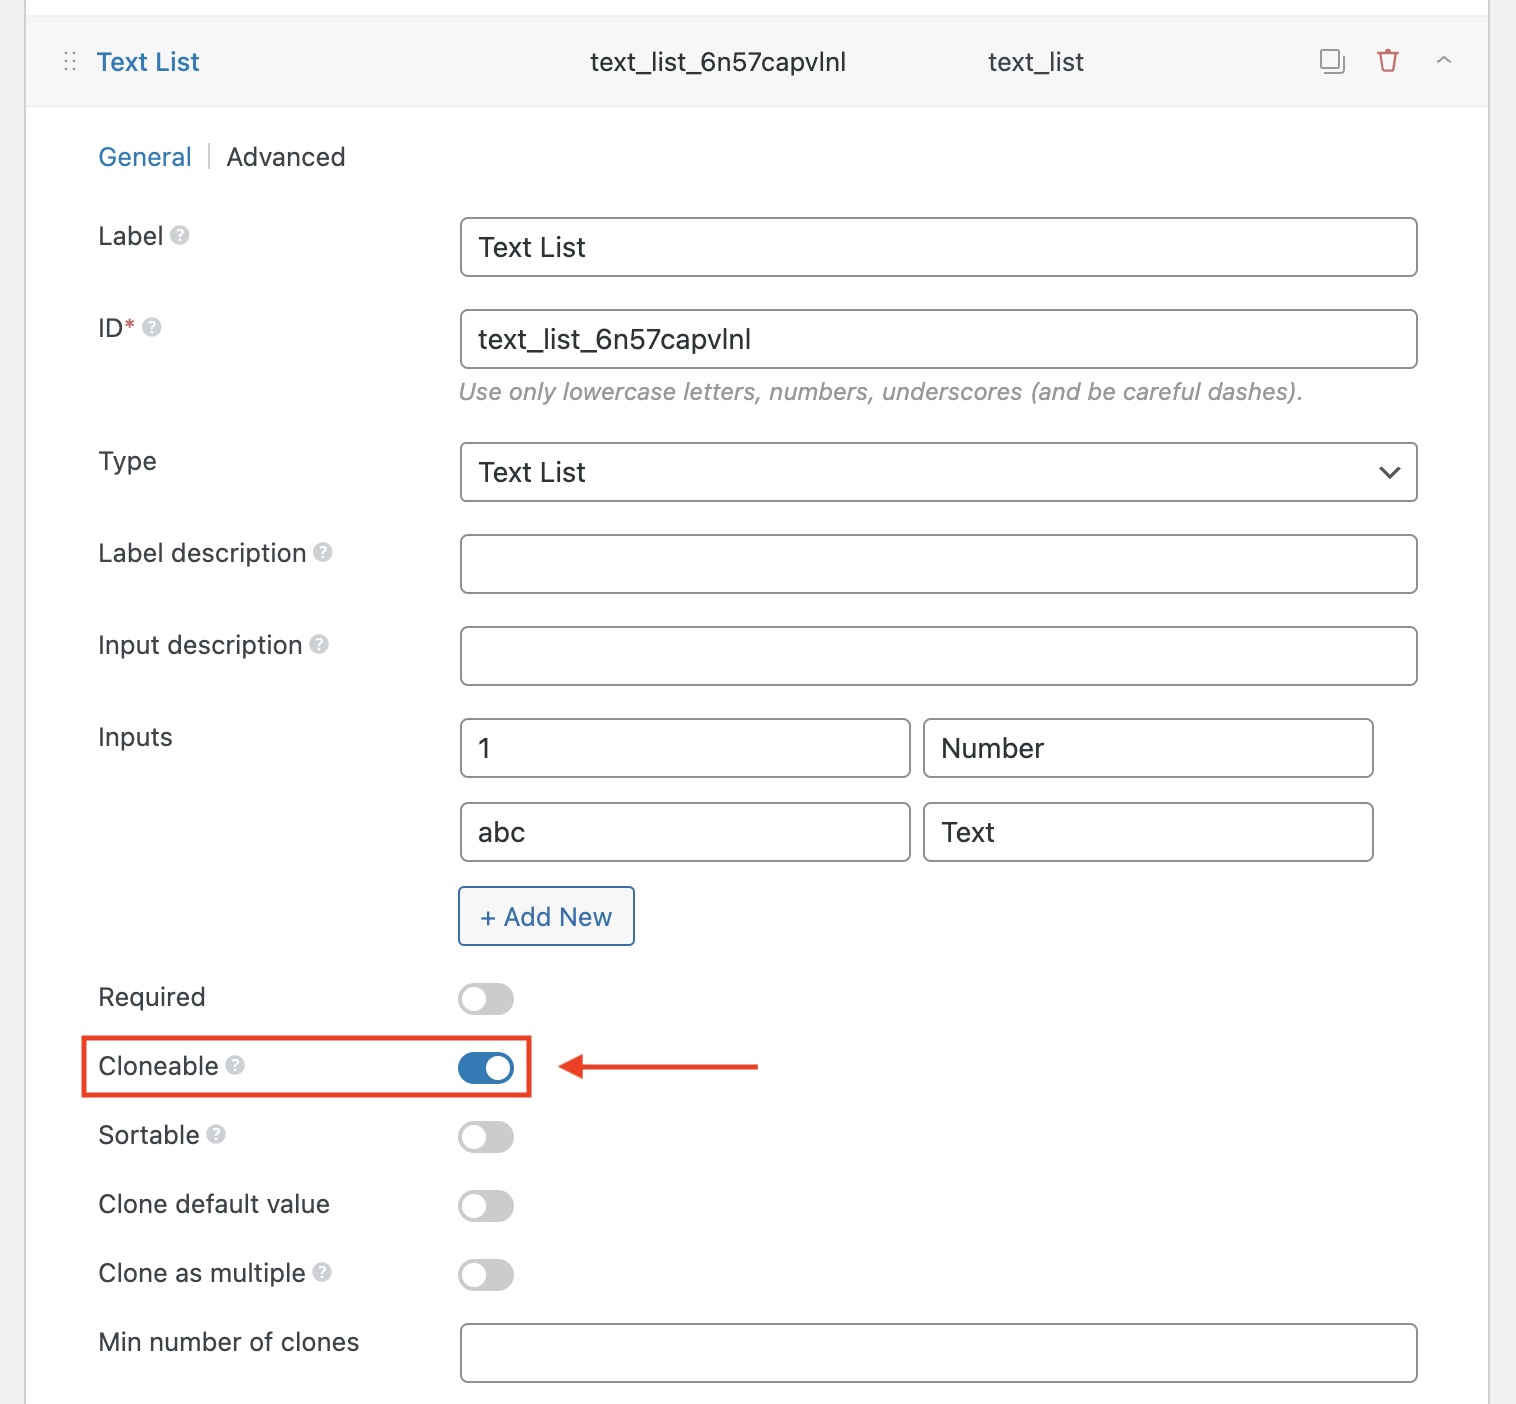
That's it! You'll then see some advanced options related to the cloneable feature in case you need further control.
These are the three different modes to import cloneable data, along with examples:
Mode 1: Fixed
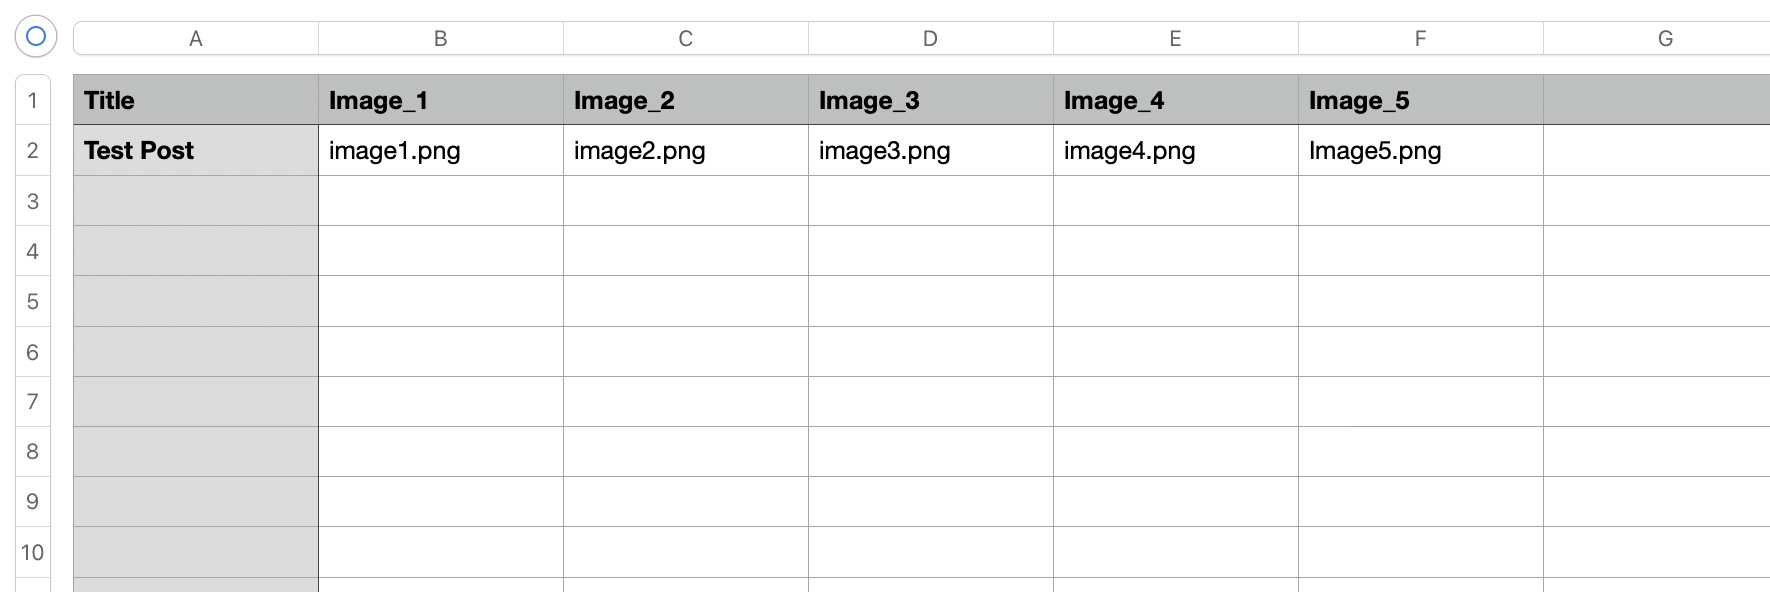
Use Fixed when each piece of the import data is stored in separate elements or columns. For example, if you have a repeater field containing an image, and your CSV file has five columns – image_1, image_2, image_3, etc:
In this case, you should manually add five rows in the cloneable field by clicking + Add more:
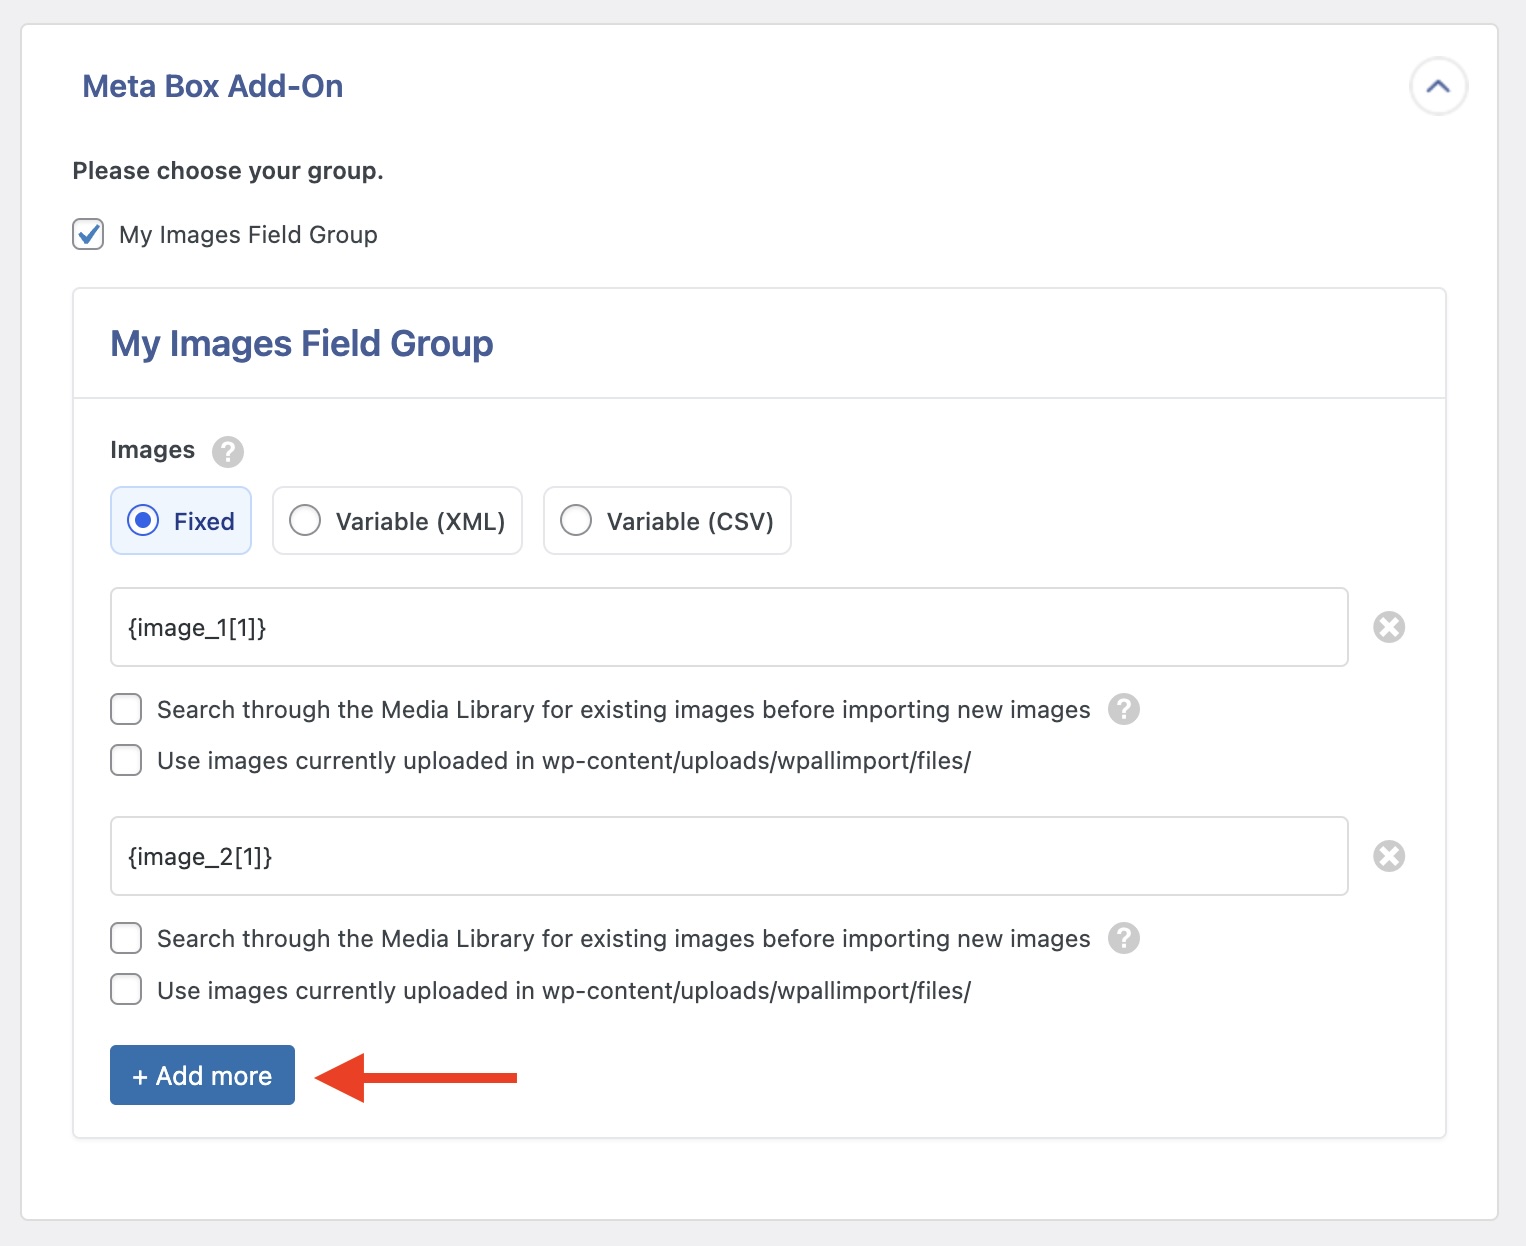
Once you have the required number of fields, drag and drop each image to its corresponding row, i.e., image_1 to the first row, image_2 to the second row, and so on.
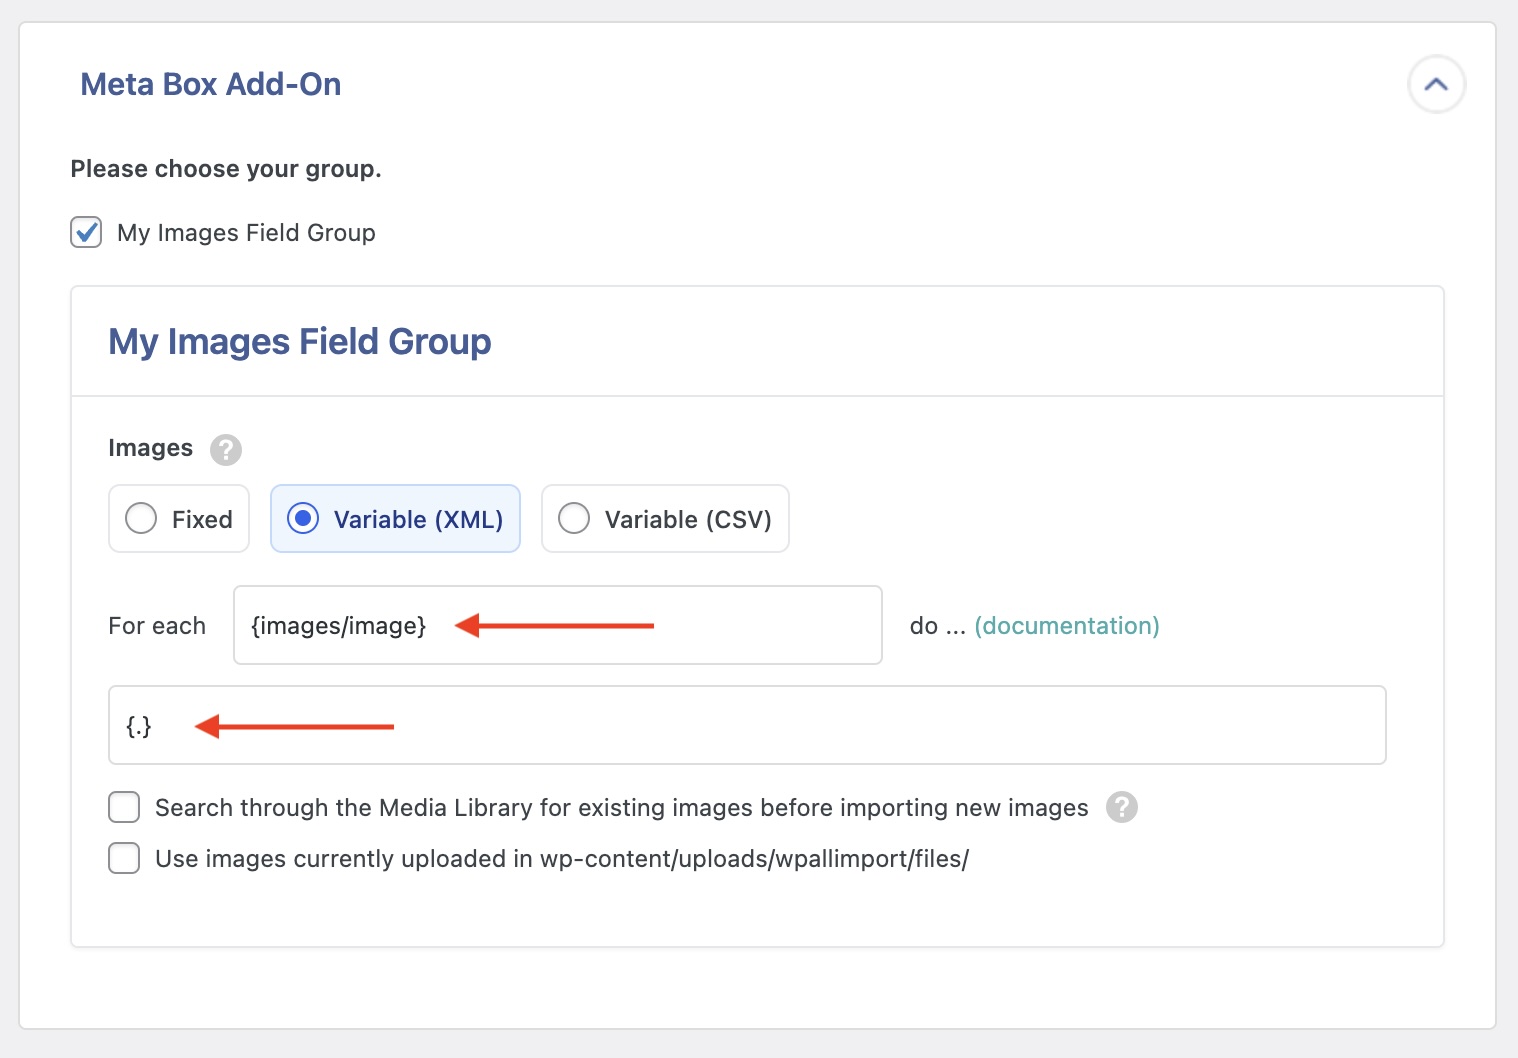
Mode 2: Variable (XML)
Use this option if your Meta Box cloneable data is stored as “sibling” elements in XML format. Please see:
<images>
    <image>image_example_1.jpg</image>
<image>image_example_2.jpg</image> <image>image_example_3.jpg</image> <image>image_example_4.jpg</image> <image>image_example_5.jpg</image>
</images>
Using drag & drop won’t create the correct XPath expression when using Variable (XML) mode. Instead, you should modify your XPath expressions using WP All Import's FOREACH syntax.
Mode 3: Variable (CSV)
If your Meta Box data is stored in a single column inside your CSV file, separated by a specified separator character, then use this option.
For example, if you have a Meta Box clonable field that contains a list of ingredients (Name and Measure – i.e., 1/2 cup is the measure and butter is the name), and the names & measures are stored in separate columns inside your CSV file:
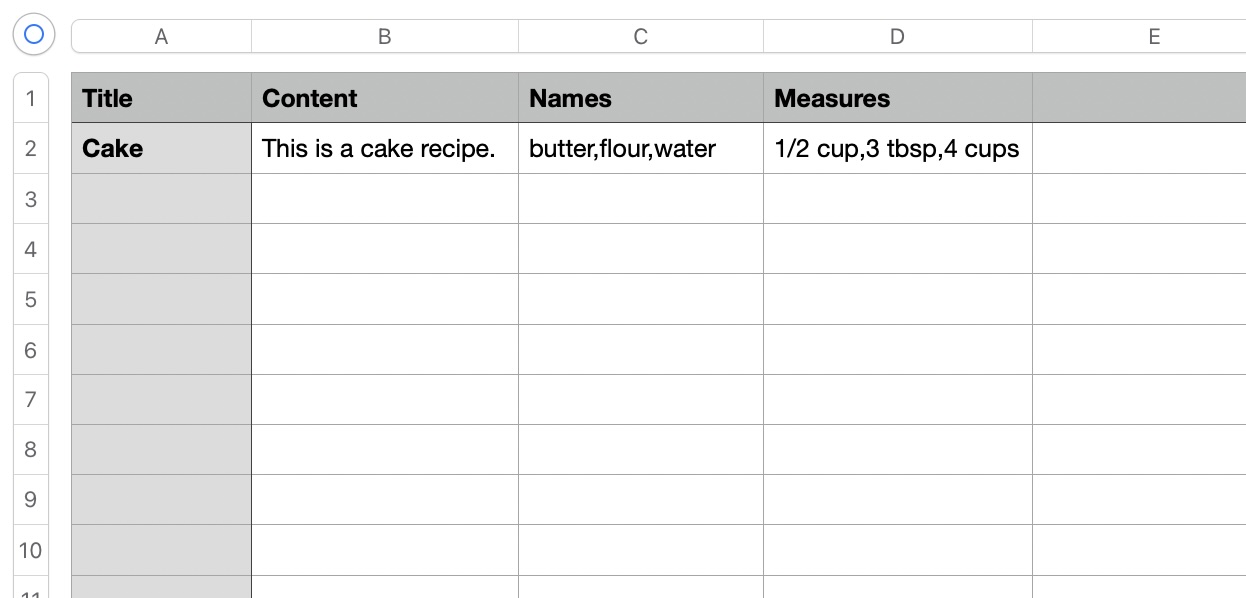
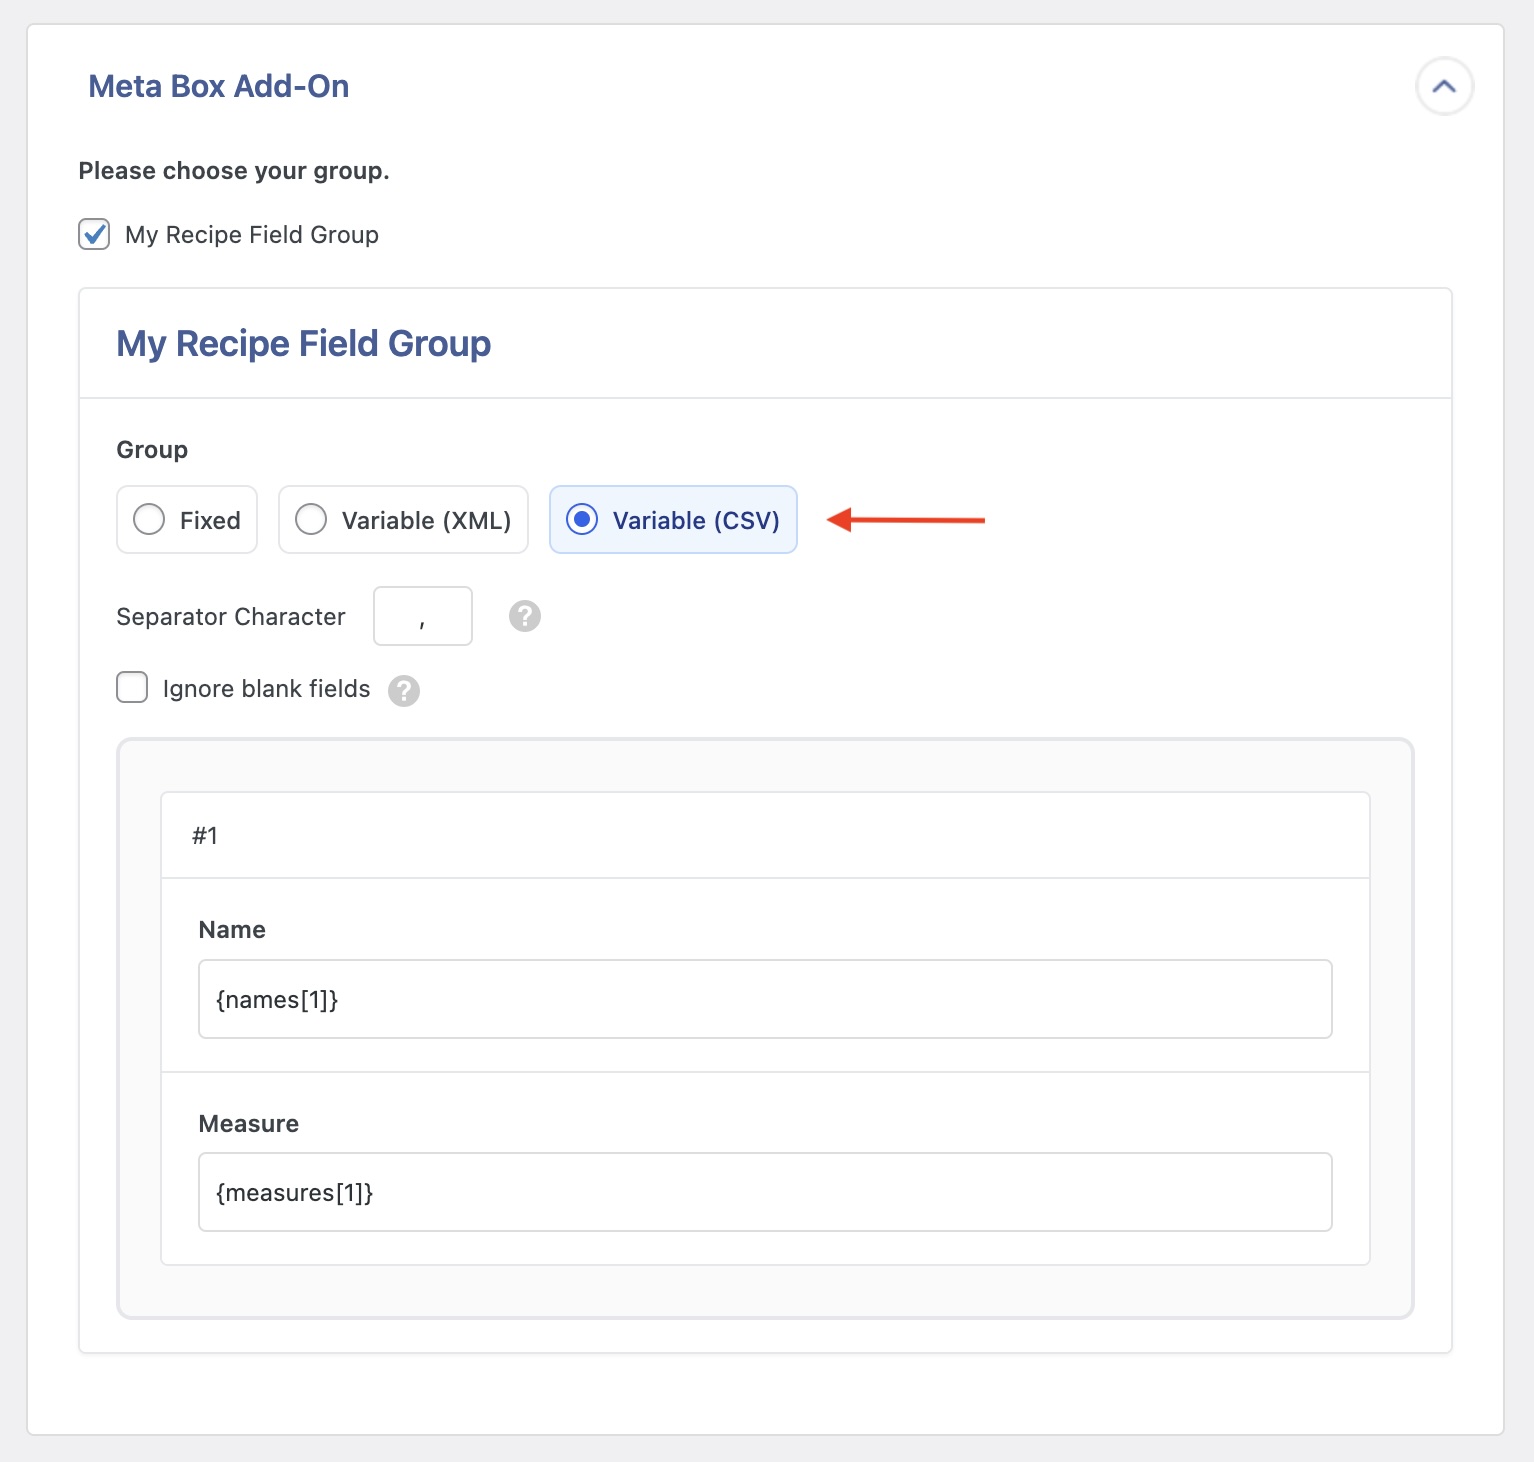
Since a comma separates this cloneable data, change the Separator Character from a pipe character to a comma. Then, drag & drop the name and measure columns into their appropriate sub-fields in the Meta Box cloneable field. The result would look like this:
When the Meta Box cloneable data is imported, the first item in the name column will be associated with the first item in the measure column, the 2nd item in the name column with the 2nd in the measure column, and so on.
Import to Meta Box from any CSV, Excel, and XML
- Every Meta Box Field
- Any file format / data structure
- Inline PHP
- Images, galleries, repeaters, and more
- Woo, ACF, JetEngine
- Any theme or plugin
Import Meta Box Cloneable Fields — Frequently Asked Questions
How Do I Turn a Meta Box Field into a Repeater or Cloneable Field?
Go to Meta Box › Custom Fields, locate the field group with the field that you want to turn into a cloneable field, and click on Edit. Under Fields, locate the field, expand it, and enable Cloneable. Then, click on Update to save the changes in your Meta Box field group.
Are All Meta Box Fields Supported?
Yes, the Meta Box Import Add-On supports all Meta Box fields available in the Meta Box plugin. To import your fields, install both WP All Import Pro and the Meta Box Import Add-On.
Import Meta Box Cloneable Fields — Related Docs
Learn more about importing Meta Box custom fields into WordPress.
Quickstart guide showing you how to import any file into WordPress using WP All Import.
Learn about our Automatic Scheduling Service to run your import on a schedule.


